How to Create a Gecko First Aid Kit (Essential Supplies)
Published on: February 1, 2026 | Last Updated: February 1, 2026
Written By: Alexander 'Gecko Geek' Johnson
Your gecko is looking a little off, and a wave of panic hits you. What do you do first? Where are your supplies? I’ve been there, staring at one of my geckos with that sinking feeling. Having a dedicated first aid kit is the single best way to turn that panic into confident action.
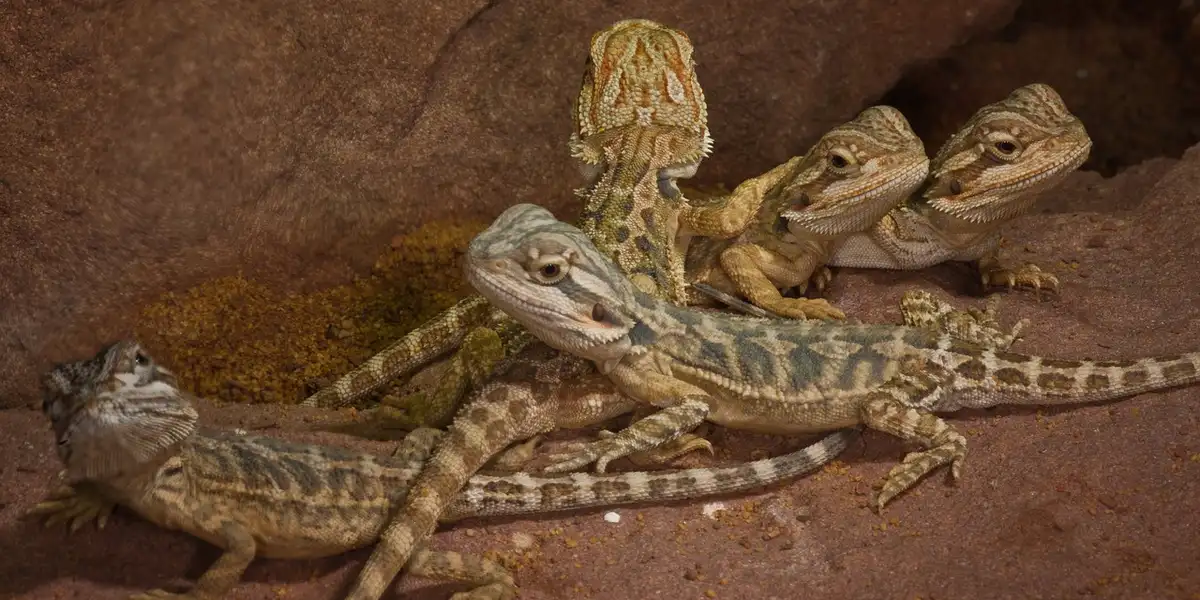
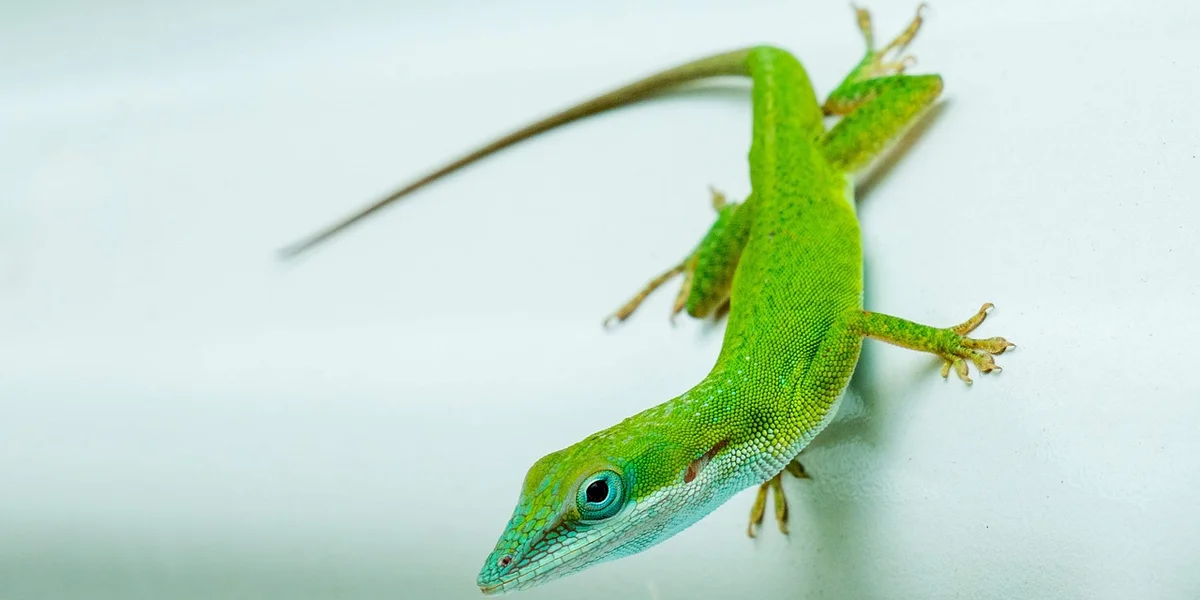
I’ve built and refined my own kits over years of caring for my crew-Griffey, Jeter, A-Rod, Mookie, and Babe. I will help you assemble a lifesaving kit that prepares you for common emergencies. Here are the key takeaways:
- Learn which supplies are absolute must-haves versus nice-to-haves.
- Understand how to safely store and organize your kit for quick access.
- Know the basic first aid procedures these supplies enable you to perform.
You will get clear, step-by-step advice you can act on immediately. The article covers: must-have supplies, wound care items, shedding aids, emergency hydration tools, safe containment options, and a complete kit checklist.
Why a Gecko First Aid Kit is a Lifesaver
I learned the hard way with my first gecko, Griffey, that a minor scrape can become a major panic without the right supplies on hand. Having a dedicated kit transforms a scary situation into a manageable one. A prepared kit gives you the confidence to act immediately, which can drastically improve your gecko’s outcome. It’s not just for emergencies; it’s for those everyday “uh-oh” moments, like a broken toenail or a stuck shed, that happen more often than you’d think.
Essential Supplies for Your Gecko First Aid Kit
Wound Care and Cleaning Basics
This is your first line of defense against infection. You need supplies that are effective yet gentle on delicate reptile skin.
- Chlorhexidine or Betadine Solution: These are safe, reptile-friendly disinfectants. I dilute chlorhexidine with water to a light tea-color for cleaning wounds.
- Sterile Saline Solution: Perfect for flushing out debris from eyes or wounds without causing irritation.
- Non-stick Pads & Veterinary Wrap: Avoid cotton balls-the fibers can stick to wounds. Self-adhering vet wrap holds pads in place without tape.
- Sterile Lubricating Eye Ointment: A must-have for dry eyes or to protect the eye during shed issues.
Must-Have Tools and Instruments
The right tools make all the difference when you’re trying to handle a wiggly, stressed gecko.
- Blunt-Tip Tweezers: Ideal for gently removing stuck shed, especially from toes. Pointy tweezers are a puncture risk.
- Small, Sharp Scissors: Dedicate a pair solely to the kit for cutting bandages or trimming matted shed.
- Digital Gram Scale & Notebook: Weight loss is often the first sign of illness. I track my geckos’ weights weekly.
- Magnifying Glass or Loupe: Helps you get a close-up view of tiny wounds, mites, or skin problems.
Medications and Health Solutions
Always consult your exotic vet before administering any medication, but having these on hand for vet-recommended use is wise.
- Reptile-Specific Probiotic: Great for supporting gut health after stress, a move, or a course of antibiotics.
- Calcium Supplement without D3: Useful for a gecko showing signs of a calcium deficiency before a vet visit.
- Unflavored Pedialyte: For creating a rehydration soak for a dehydrated or lethargic gecko.
Records and Supplementary Items
This part of the kit is about organization and comfort, which are just as important as the medical supplies.
- Vet Contact Sheet: I have my exotic vet’s number, address, and the number for the nearest animal poison control center printed and laminated.
- Health Log: I note everything-feeding, shedding, weight, and any odd behaviors. This history is gold for your veterinarian.
- Small Critter Keeper: A clean, small enclosure is perfect for isolating an injured gecko or for a safe, temporary hospital tank.
- Spray Bottle: Dedicated to misting with clean water to maintain humidity for a gecko in recovery.
Step-by-Step Assembly of Your Gecko First Aid Kit
Selecting the Perfect Container
You need a container that is sturdy, portable, and easy to open with one hand. I learned this the hard way when my leopard gecko, Griffey, had a minor scare and I dropped a flimsy cardboard box in a panic. Choose a clear plastic container with a secure latch, like a small tackle box or a dedicated first aid box, so you can see everything at a glance. It should be large enough to hold all your supplies but compact enough to store near your gecko’s enclosure. My favorite is a box with adjustable dividers, which lets me customize compartments for different items.
- Durable Material: Opt for hard plastic that won’t crack if dropped. Avoid soft bags that can get crushed.
- Portability: A handle or small size makes it easy to carry during emergencies. I keep mine on a shelf right next to Babe’s terrarium.
- Visibility: Clear sides help you spot items quickly without rummaging. Label the outside with “Gecko First Aid” for fast identification.
Organizing for Quick Access
When your gecko is stressed, every second counts. I organize my kit so that the most critical items are up front and grouped by use. Start by placing wound care supplies like antiseptic and gauze in the first compartment, followed by shedding aids and eye care in separate sections. This system saved me time when my crested gecko, Jeter, had a stuck shed issue—I knew exactly where to find the damp cotton swabs. Use small ziplock bags or silicone cups to keep things neat and prevent spills. That’s where a quick step-by-step guide to safely assist a gecko with a stuck shed comes in. Begin by increasing humidity and gently softening the shed with a damp cotton swab, never pulling it, and seek veterinary help if it remains stuck.
- Group Similar Items: Keep all cleaning agents together, all bandaging materials in another spot. This avoids confusion during high-pressure moments.
- Label Compartments: Use a permanent marker or small stickers to mark sections like “Cuts,” “Shedding,” and “Eyes.” I even color-code mine with tape for extra clarity.
- Store in an Accessible Location: Place the kit somewhere you can grab it instantly, not buried in a closet. Mine sits on a low shelf near my geckos’ habitats, away from direct heat or moisture.
Using Your First Aid Kit for Common Gecko Emergencies
Treating Minor Cuts and Skin Tears
Small injuries can happen from rough décor or accidental handling. When my African fat-tailed gecko, A-Rod, nicked his skin on a hide, I stayed calm and used my kit. First, gently clean the area with a sterile saline solution or chlorhexidine wipe to prevent infection. Avoid using hydrogen peroxide or alcohol, as they can irritate your gecko’s delicate skin. Then, apply a thin layer of reptile-safe antibiotic ointment and cover with a non-stick gauze pad if needed. Monitor the wound for signs of swelling or redness, and consult a vet if it doesn’t improve within a day.
- Restrain Safely: Have a helper hold your gecko or place them in a small, secure container to minimize movement.
- Clean Thoroughly: Use a cotton swab dipped in saline to wipe away any debris. Pat dry with a clean cloth.
- Apply Protection: Dab on a bit of ointment and let it air dry. For larger tears, a vet may recommend a liquid bandage.
Handling Stuck Shed Problems
Stuck shed is common, especially on toes and tails, and can lead to serious issues like loss of circulation. My gargoyle gecko, Mookie, often gets stubborn shed on his feet after a dry spell. Creating the right humidity in the habitat makes shedding easier. Keeping humidity stable helps prevent stuck shed. Create a warm, humid environment by placing your gecko in a shallow container with damp paper towels for 10-15 minutes to loosen the skin. Then, use a soft, damp cotton swab to gently roll the shed off—never pull it, as this can tear the skin. If it doesn’t come easily, repeat the soaking process and check for retained shed after a few hours.
- Use a Humid Hide: Keep a small hide filled with moist sphagnum moss in your kit for on-the-spot hydration boosts.
- Avoid Force: If the shed resists, stop and try again later. For persistent cases, a vet visit is wise to prevent infection.
- Prevent Future Issues: Regularly mist your gecko’s enclosure and provide a rough surface, like a stone, for them to rub against during sheds.
Addressing Eye Injuries and Irritations
Geckos can get substrate in their eyes or suffer from scratches, which require immediate care. My giant day gecko, Babe, once had redness from stray coco fiber, and I used saline from the kit to flush it out. Gently hold your gecko and use a sterile eyewash or saline solution to rinse the affected eye, aiming from the inner corner outward. Do not use tweezers or touch the eye directly, as this can cause more harm. After flushing, keep your gecko in a clean, substrate-free enclosure to avoid further irritation, and watch for signs like squinting or discharge. Knowing how to manage common eye problems in geckos can be very helpful for their care.
- Flush Carefully: Tilt your gecko’s head slightly and drip saline into the eye using a dropper. Let the solution run out naturally.
- Check for Foreign Objects: If something is visible, a vet should remove it. Never attempt this yourself to prevent injury.
- Monitor Closely: If the irritation persists beyond a few hours, seek professional help to rule out infections or corneal damage.
Storing and Maintaining Your Gecko First Aid Supplies
You’ve gathered your supplies, but where you keep them is just as critical. A disorganized or poorly stored kit is useless in a moment of panic. I keep my main kit in a durable, clear plastic toolbox under my geckos’ enclosures. This makes it easy to see the contents and grab it quickly.
Ideal Storage Conditions
Not all supplies can be tossed in a box and forgotten. You must consider their environment.
- Cool and Dry: Heat and moisture are the enemies of many medical supplies. Store your kit away from direct sunlight, heaters, and the humidity of the bathroom.
- Out of Reach: This kit contains items that can be dangerous to children and other pets. A high shelf or a locked cabinet is your best bet.
- Accessible Location: Despite needing to be secure, it must be somewhere you can get to instantly. You don’t want to be fumbling for a key during an emergency.
Your Maintenance Routine
Set a calendar reminder to check your kit every three to six months. I do mine when I change the smoke detector batteries-it’s an easy habit to pair with another important task.
- Check Expiration Dates: Go through every bottle and packet. Toss any expired saline, Betadine, or oral electrolytes.
- Inspect and Restock: Are your cotton swabs still sealed? Did you use the last of the non-stick gauze? Replace what’s missing.
- Test Equipment: Make sure your digital scale’s batteries still work and that your thermometer is reading accurately.
When to Seek Professional Veterinary Care
Your first aid kit is a vital tool for initial response and minor issues, but it is not a substitute for a qualified reptile veterinarian. Knowing when to escalate care is the most important skill you can develop as a pet owner. My rule is simple: when in doubt, make the call. It’s always better to be safe than sorry.
Clear Emergency Situations
These are the red flags that mean you need to stop what you’re doing and contact your vet immediately.
- Traumatic Injury: Any fall, dog or cat bite, or serious wound requires immediate professional assessment. Internal injuries are not always visible.
- Prolapsed Tissue: If you see pink or red tissue protruding from the vent, this is a severe medical emergency that will not resolve on its own.
- Difficulty Breathing: Listen for clicking, wheezing, or open-mouth breathing. This can indicate a serious respiratory infection.
- Seizures or Stargazing: If your gecko is arching its head back uncontrollably or having spasms, this is a dire neurological sign.
Concerning Symptoms That Need a Diagnosis
Some problems develop more slowly but are just as serious. Don’t try to play doctor at home for these.
- Sudden Weight Loss: If your gecko’s tail becomes skinny and you can see its hip bones, this signals a major health problem.
- Persistent Lethargy: A gecko that is consistently inactive, doesn’t react to handling, and sleeps all day needs a check-up.
- Swollen Joints or Limbs: This can be a sign of metabolic bone disease or a localized infection, both of which need specific treatment.
- Eye Issues: Swollen, sunken, or constantly closed eyes often indicate an underlying infection or vitamin deficiency.
- Egg Binding (Dystocia): If you suspect your female is gravid but she has not laid her eggs after a reasonable time and seems stressed or weak, she needs veterinary intervention.
A loss of appetite for more than a week in an adult gecko, especially when paired with lethargy, is a major red flag.
FAQs
How should I transport my gecko to the vet in an emergency?
Place your gecko in a small, secure container with air holes and soft bedding to minimize stress and injury during transport. Gentle handling helps a stressed gecko stay calm. Also use environmental fixes like stable temperatures, proper humidity, and accessible hides for effective stress-reduction techniques.
Are there any specific first aid considerations for juvenile geckos?
Juvenile geckos are more fragile and may require gentler handling and smaller doses of any treatments, so always consult a vet for age-specific advice. This ties in with the juvenile-to-adult transition guide for crested gecko care. As geckos mature, handling and dosing needs shift, so consult the transition guide for ongoing care.
Can I use a human thermometer to check my gecko’s temperature?
It’s best to use a digital reptile thermometer for accurate readings, as human thermometers may not be suitable for the temperature ranges geckos require. Infrared thermometers often provide quick and precise measurements.
What should I do if my gecko escapes and is injured?
First, safely contain your gecko in a small, dark container to reduce stress, then assess injuries using your first aid kit before seeking veterinary care if needed. When handling a sick or injured gecko, move slowly and minimize handling. Wear gloves to protect both you and the animal.
How can I calm a stressed gecko before administering first aid?
Keep handling to a minimum, speak softly, and work in a quiet, dimly lit room to help reduce your gecko’s anxiety during first aid procedures. Also, learn to interpret your gecko’s mood to guide safer handling sessions. If you notice signs of stress, pause and continue only when the gecko appears calm.
Final Thoughts
Ultimately, your gecko first aid kit boils down to a few key items: wound care supplies like sterile saline and gauze, a reliable digital thermometer and hygrometer for monitoring their environment, and a secure, small container for safe transport. For leopard geckos, the emergency care essentials are the kit you reach for at the first sign of distress, enabling a quick, calm response. Always have the number for an exotic vet saved in your phone and a recent photo of your gecko handy for quick identification.
Being a great gecko guardian means preparing for the unexpected, but it also means committing to learning about their unique needs every single day. The more you understand their normal behavior and habitat requirements, the faster you’ll spot a problem and the less you’ll need to rely on that first aid kit in the first place. In our complete guide to understanding gecko behavior and temperament, you’ll learn to read their signals and tailor care. This knowledge helps you keep a calm, healthy gecko and spot issues early.
Further Reading & Sources
- Building a Reptile First Aid Kit | ReptiFiles
- reptiles – What should be in a leopard gecko first aid kit? – Pets Stack Exchange
- Reptile First Aid Kit | What Do You Need? What To Use? What’s Safe? – YouTube
The Gecko Guide is your ultimate resource for gecko enthusiasts, providing expert advice and practical tips to ensure the health and happiness of your scaly companions. Alexander is a passionate gecko owner with over a decade of experience in reptile care. We are dedicated to offering accurate, up-to-date information to support your gecko journey.Our mission is to foster a community of responsible gecko owners who are passionate about the well-being of these fascinating creatures.
Accessories and Supplies